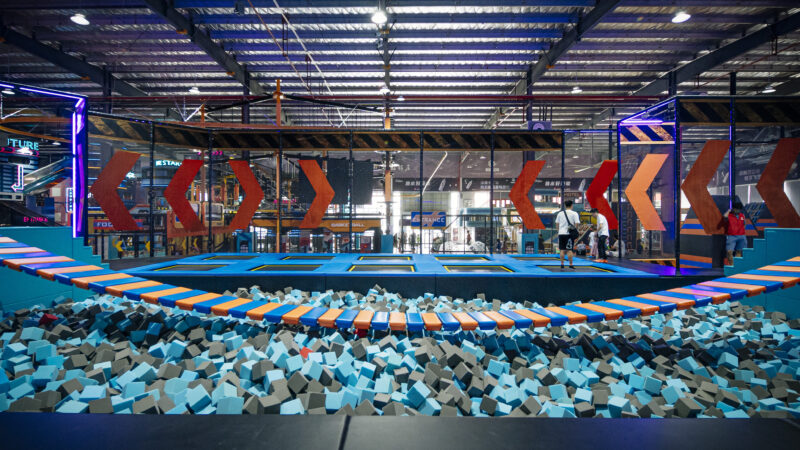
What does it take to build the playground in the rendering?
A rendering shows the space you want. Site checks, technical drawings, custom fabrication and installation are what make it possible to build.
You have approved a design you like. The entrance has a shape people will remember, the lighting draws visitors into the room, and you can picture children choosing their first route. The next question is simple: will it still look and work like that when it opens?
The answer depends on a series of practical decisions. We start by checking the real site against the plan. Engineers then work out how to make the equipment and how it fits. The workshop turns the custom pieces into parts that can be installed, and the site team checks what has actually been built. At each stage, someone has to know what the design is trying to achieve.
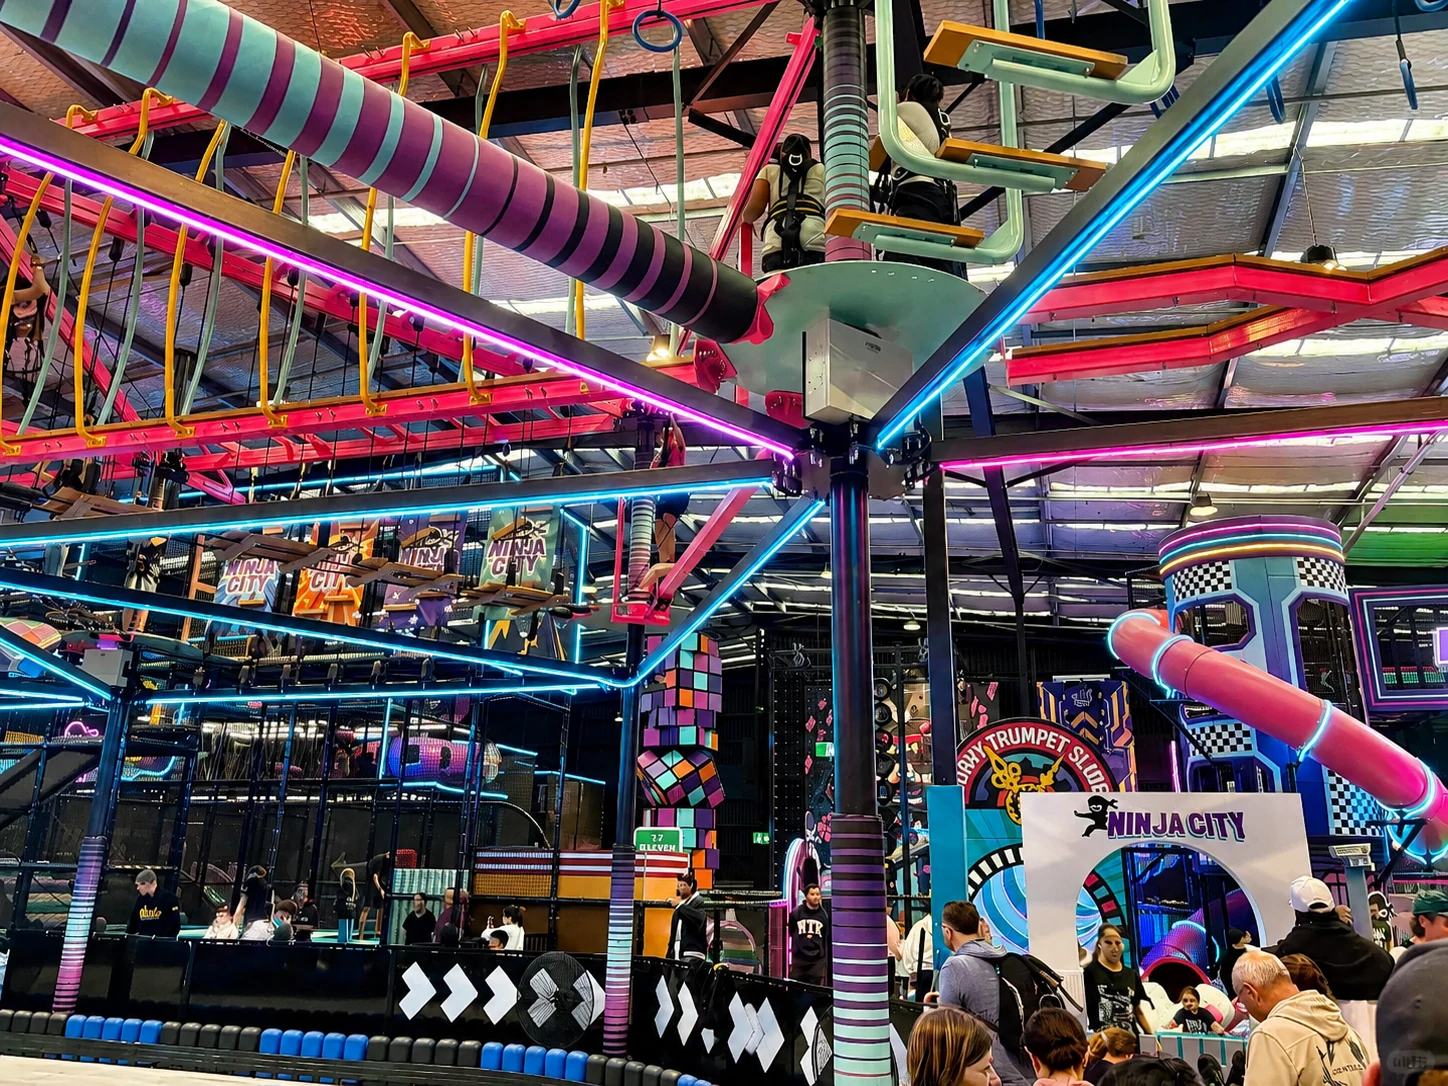
Check the building before finalizing the layout
A drawing may show the inside face of a wall, but not the depth of the finish that is about to go on it. A ceiling height is not always the usable height: ducts, beams and other services may sit below it. A small difference can change the position of an entrance, the height available above a platform or the route a large piece will take into the building.
Our sales team can help the customer collect the right information before final review. Ask for the latest drawing and confirm where the dimensions were taken. Mark the columns, openings and overhead obstacles on the drawing. Use photos to show where each measurement came from, and have the site team recheck critical dimensions if the building is changing. The designer can then refine the layout around the actual space rather than work from an assumption.
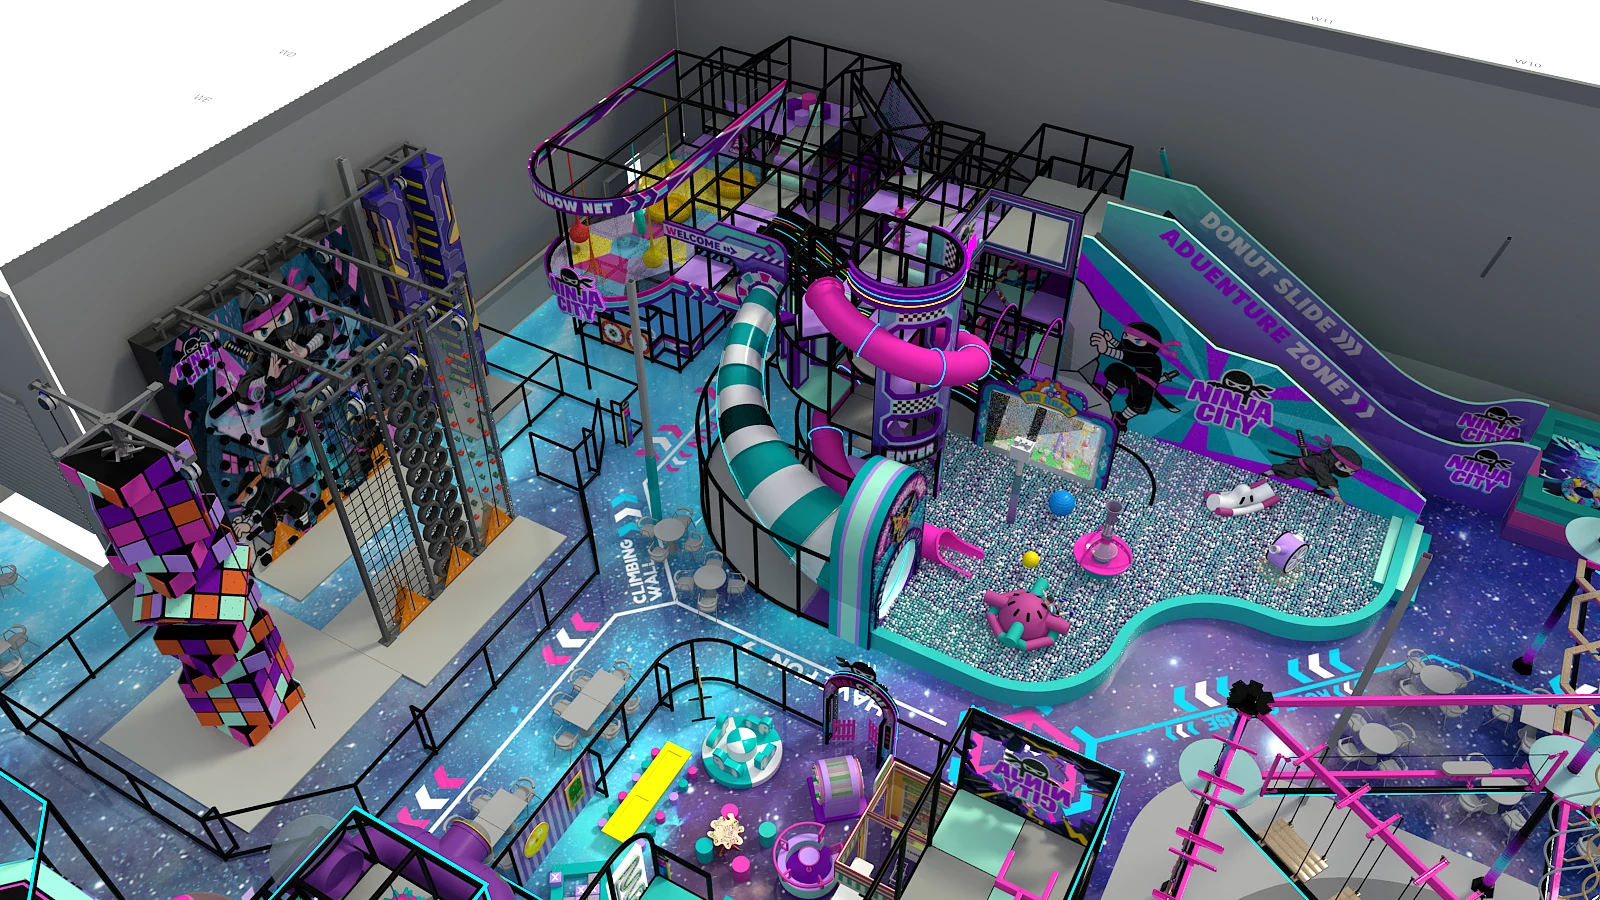
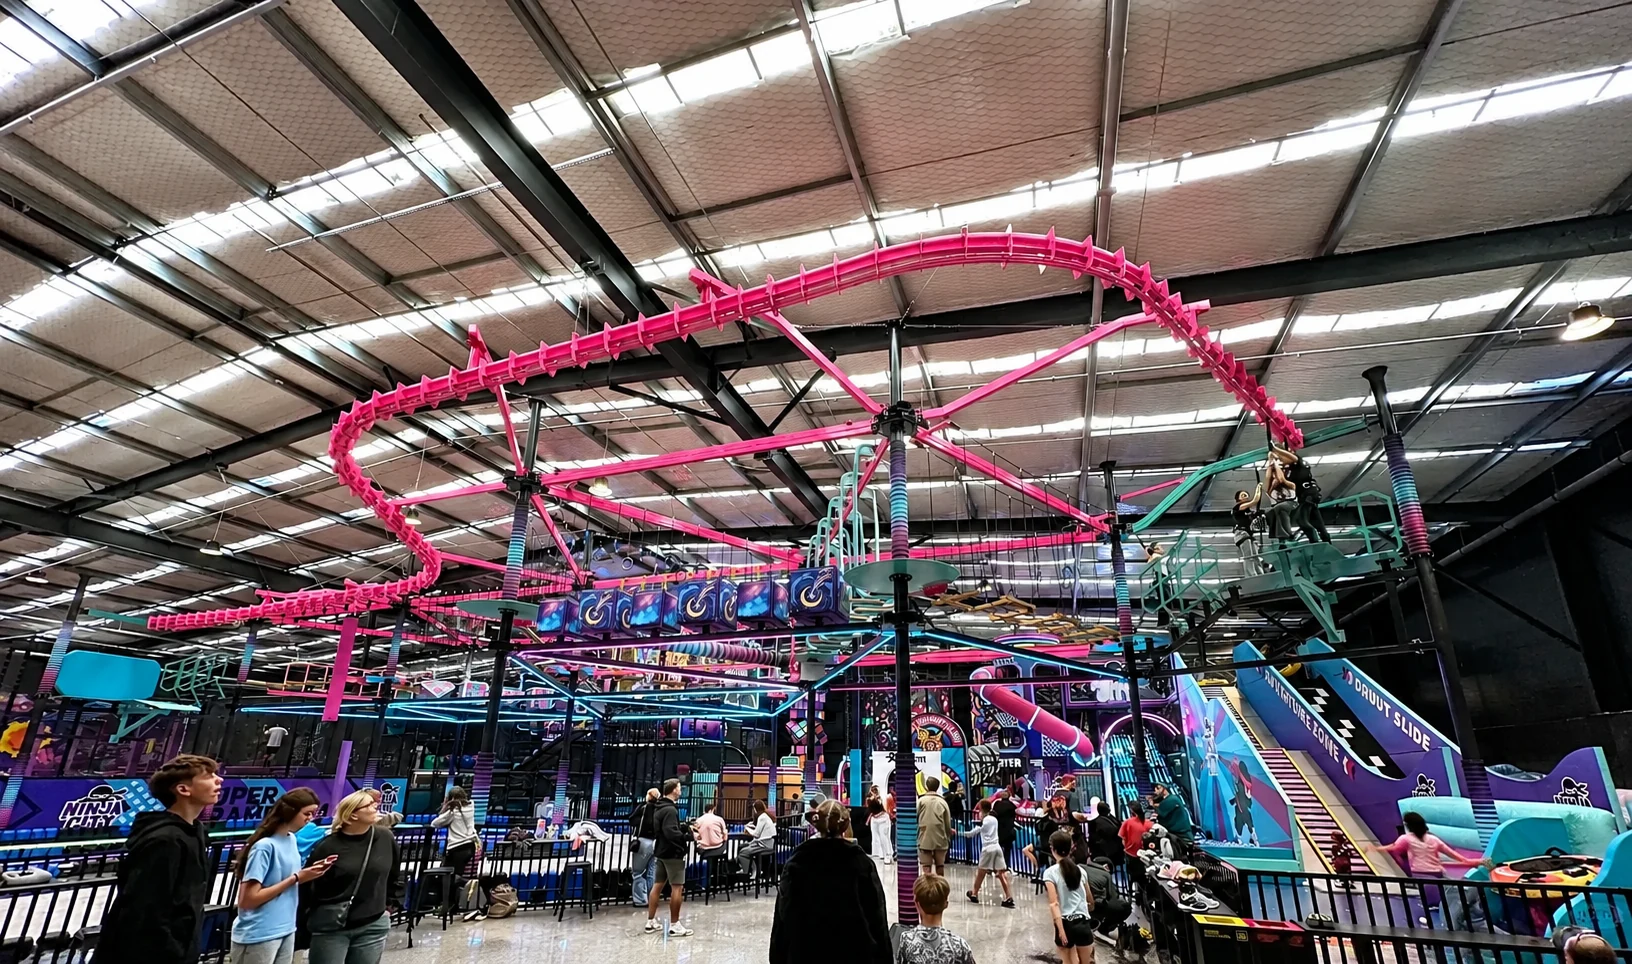
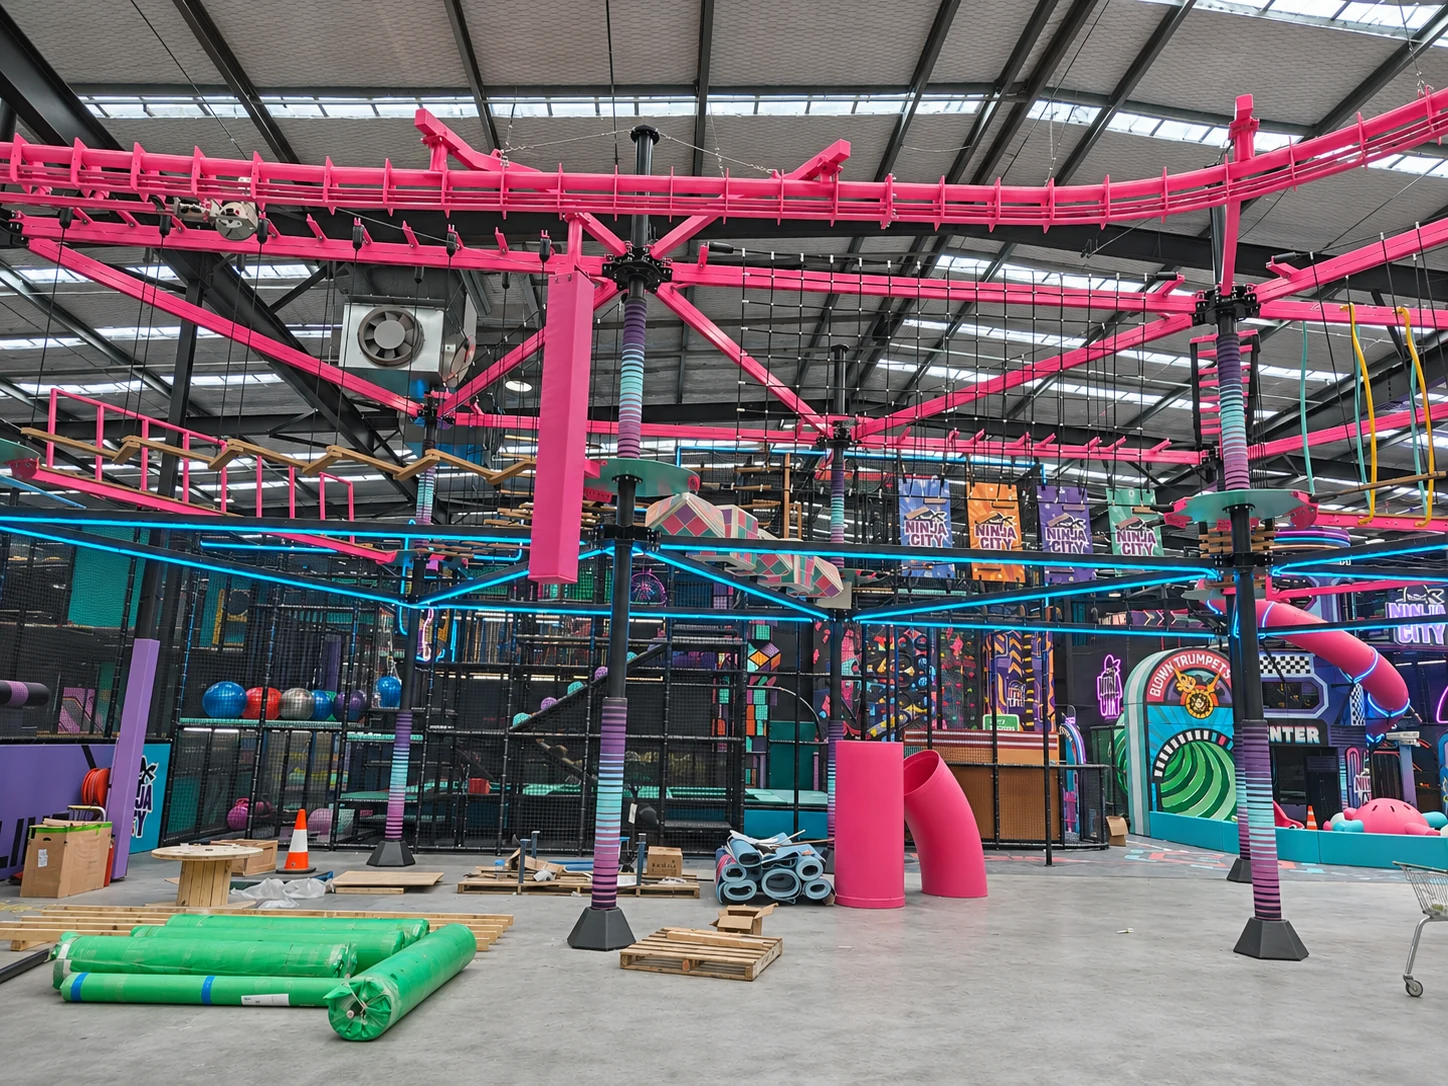
Ninja City: the design proposal and the completed venue, shown from different viewpoints. The site photograph also shows the roof structure above the attractions.
Give the workshop and the installers a drawing they can use
The rendering can show what the visitor sees; it does not show every fixing, joint or cable route. During technical design, engineers turn the approved concept into drawings that explain how components fit together. They check the dimensions, supports, connection points and installation interfaces. If a detail is hard to make, carry or fit as drawn, they can refine the construction while keeping the visible design intact.
Think of a curved entrance panel. The designer is concerned with the silhouette and what the visitor sees first. The engineer also needs to know how many sections it will travel in, where they join, how the panel is fixed and how the installer can reach those fixings. A clear technical detail makes those decisions visible before the piece reaches the site.
Spend time on the details visitors will remember
Standard equipment has established production steps. The work that needs a closer look is often the custom layer: the shaped entrance, the illuminated sign or the lighting that makes a play zone feel like part of the same world.
For a custom light feature, decide where the light should fall and what should remain in shadow. Check how the lighting looks through the chosen material, how the parts are supported, and how the fitting can be reached later for service. For an electronic sign, check that the lettering can be read from the approach and that the frame, wiring and access are planned before the sign is closed up. A themed panel needs the right shape and finish, but also a practical join and a surface that can stand up to regular use and cleaning.
Where the finish matters, a sample, trial fit or light-up test gives the designer and workshop something concrete to discuss. The goal is not just to match the image from one camera angle. It is to keep the effect visitors will notice while making the piece safe, durable and practical to maintain.

Make site changes visible before adjusting the installation
Sometimes the local contractor changes a wall finish, a ceiling service or the position of an opening after the drawings have been agreed. If that happens during installation, first document what changed. Mark the location on the current drawing and record the actual dimensions so the installer and technical team can review the same information.
Then agree which installation detail needs to change and which part of the design needs to stay. An installer might find a different way to reach a service point, for example, without moving the entrance that gives the room its identity. A change that affects a fixing, clearance or service connection should go back to the responsible technical team before work proceeds. Update the drawing and share the agreed revision so the next team does not build to the old one.
Ask to see the same project at more than one stage
When you compare suppliers, choose one feature from a finished project and ask them to trace it back. Can they show the design, a workshop or site image, and the finished feature? Can they explain their role and which parts another contractor supplied? The exact angle may differ, but recognizable details should carry through.
It is also worth doing a quick check yourself. Look for the venue’s own site, public opening photos or a location that you can verify. If a supplier presents another company’s project as its own, a reverse-image search or a check with the venue can reveal the mismatch. Where a client permits it, a reference call is more useful than another gallery of unlabelled photos.